Connection without Using an Access Point (Windows XP)
(Appears in a new window)
-
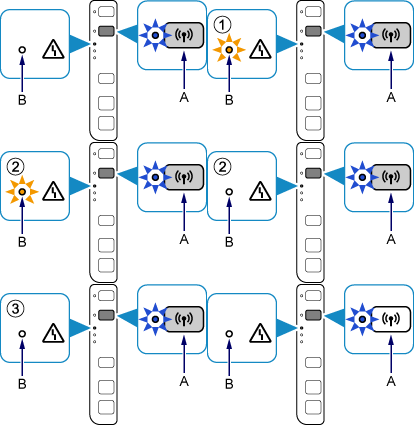
Hold down the Wi-Fi button (A) on the printer until the Alarm lamp (B) flashes 3 times, then release the Wi-Fi button after the third flash.
The printer's access point mode will be enabled.

-
Check the SSID and network key of your printer.
The default SSID is the printer name. Print the LAN setting information and check the SSID field.
-
How to print the LAN setting information
Hold down the Stop button on the printer until the Alarm lamp flashes 15 times, then release the Stop button after the fifteenth flash.
The LAN setting information will be printed.
The default network key is the serial number of the printer. Check the rear side of the printer or warranty.
-
-
Right-click the Wireless Network Connection icon in the notification area of the taskbar on the computer, then select View Available Wireless Networks.

-
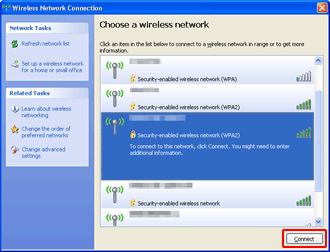
Select the network name (SSID) you want to use, then click Connect.

-
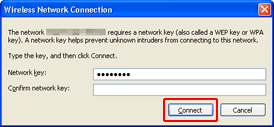
Enter the network key, then click Connect.

-
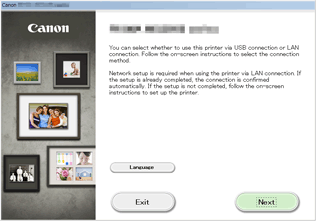
When connection is complete, click Back until the screen below appears.
Proceed with the setup.


